How to Install Water Filter Housings

Water filter housings are essential components of any water filtration system, helping ensure that the water you use is clean and safe. However, you need to install them correctly for them to work as intended.
If you've recently purchased one of our water filter housings but are still unsure about the necessary steps for proper installation, here’s a step-by-step guide that works with most types and models.
How to Install Water Filter Housings
Before installing any water filter housing, make sure you have identified the water quality issues affecting your property and have already purchased the correct type of cartridge to solve the problem. After that, you can install it by following these steps:
Step 1: Gather Supplies and Tools
It's important to gather all the necessary tools and materials before starting. You will need a few key items to ensure a smooth installation process. First and foremost, you'll need your water filter housing unit with the appropriate water filter cartridge compatible with the housing. Additionally, you’ll need:
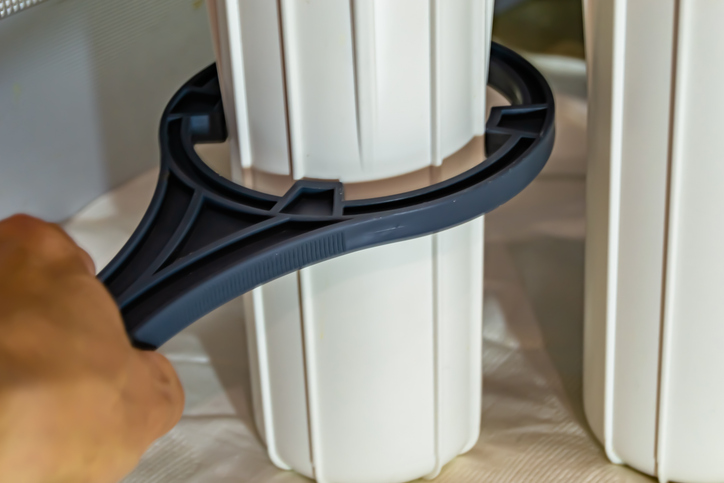
- A wrench or filter housing wrench for tightening the connections
- Teflon tape or pipe thread sealant to seal the housing and the water supply line properly
- Bucket or towel to catch water spills during installation
- Pliers for loosening or tightening connections
Step 2: Prepare for Installation
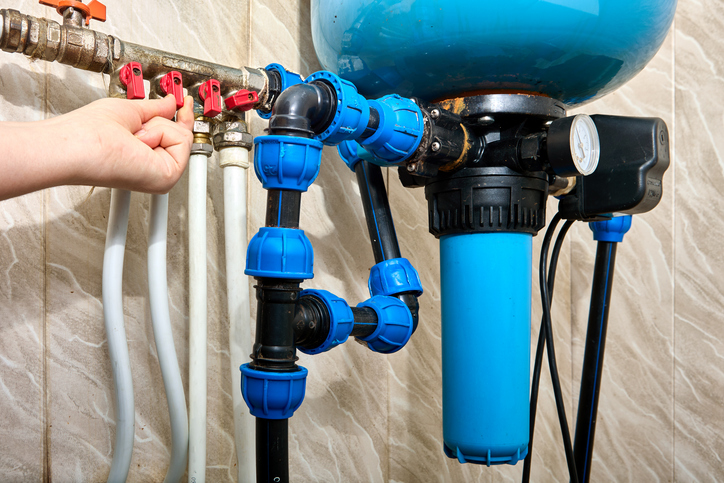
Once you've gathered and prepared your supplies for installation, start by shutting off the water supply. Turn off the water supply using a valve handle by closing the valve clockwise. This will prevent water from flowing while you work on the installation.
Next, relieve the water pressure in the system by opening a faucet at a lower point in your home so that any remaining water can drain completely. Let the water run until it stops completely, ensuring the system is depressurised before installation.
Apply Teflon tape or pipe thread sealant to the threads on the housing's inlet and outlet ports to ensure a proper seal and prevent leaks. Then, wrap the tape clockwise around the threads to cover them fully without extending over the edge. Alternatively, you can apply pipe thread sealant according to the manufacturer's instructions.
Step 3: Install the Water Filter Housing
Now it's time to install the filter cartridge. Check the cartridge for any packaging or protective covers and remove them. Insert the filter cartridge into the housing, following the manufacturer's instructions. Ensure that the cartridge is seated correctly and aligned with the housing.
With the cartridge in place, you can now install the housing itself. Position the housing in the desired location, aligning the inlet and outlet ports with the water supply line. Begin by hand-tightening the housing onto the water supply line until it feels snug. Then, use a wrench to tighten the housing an additional quarter-turn to ensure a secure connection. Be cautious not to overtighten, as it may damage the housing or cause leaks.
Step 4: Test the Installation
Once the housing is securely installed, it's time to turn on the water supply. Make sure to close all valves, except for the nearest faucet and turn on the water supply. Depress and hold the red pressure-relief button while slowly opening the inlet valve as water fills the housing until it flows out of the relief button. Open the outlet valve slowly to purge air from the line. Additionally, keep an eye out for leaks around the filter housing and tighten the connections if needed. Let the water run for a few minutes to flush out any air or debris from the system.
Step 5: Troubleshooting
To ensure everything is working properly after installation, turn on a faucet connected to the filtered water line and check if the water flows smoothly. If you notice any leaks, tighten the connections using a wrench or filter housing wrench until they are snug, avoiding overtightening them.
Next, turn on a faucet connected to the filtered water line and check the water flow. If the water flow is inadequate or there are issues such as sputtering or reduced pressure, the filter cartridge could be clogged. Double-check the installation, ensuring the cartridge is correctly inserted, the housing is securely tightened, and the water flow direction is correct.
If the issues persist, consult the manufacturer's instructions or contact customer support for further assistance. Additionally, regular maintenance and replacement of filter cartridges are required to maintain optimal filtration performance and address potential problems.

Upgrade Your Filtration System with Our Water Filter Housings
Our online store carries a wide range of water filter housings for your needs. Each water filter housing we sell is made to Australian standards that will stand up to harsh environments and provide long-term dependability.
We have the best prices around and offer free shipping for minimum orders of $300 to most locations within Australia. If you’re looking for a convenient store for affordable and high-quality plumbing products, Plumbing Sales has all you could need and more.
Browse our online shop today, and see why we’ve been Australia’s favourite plumbing supply store for the last 60 years.


